 Speaker basics
In this article:
![]() Importing speaker and scene information
Importing speaker and scene information
Overview
You can use speaker information to perform automatic colouring of subtitle text. For this to work, each sentence of subtitle text needs to be assigned to a particular speaker. You can then assign specific colours to particular speakers, or have Wincaps Q4 automatically colour the text in the most efficient way. The general procedure for doing this is as follows:
-
Begin by importing a subtitle file that contains speaker information, for example WebVTT.
-
Review and modify the speaker information as desired using the Speaker List pane of the Toolbox
-
Use autocolouring to automatically colour the text by speaker
Speakers are automatically created and assigned when you import a file that contains speaker information. The following file formats currently support this:
-
Protoscript - a text format containing scene and speaker information, generated by the Script Extractor. Not supported for export.
-
WebVTT - Web Video Text Tracks Format. Supported for export and import.
Wincaps Q4 extracts the Speaker information from the imported file to populate the Speaker List and automatically assigns each sentence of imported text to the corresponding speaker. If the WebVTT file already contains speaker AND colour information, Wincaps will assign the colours specified in the file to the Speakers in the Speaker List pane when importing he file.
You manage speakers using the Speaker List pane of the toolbox. Speakers can be created and text assigned to them on-the-fly by using the F keys.
You can create a speaker list template for each programme so that a set of common speakers is created with default colours already assigned each time a new job is created for that programme.
Speaker information may also be saved when exporting files in certain formats, e.g. EBU-TT.
![]() Note that the speaker functionality is only available when the Speaker List pane is active.
Note that the speaker functionality is only available when the Speaker List pane is active.
Importing speaker and scene information
The following notes apply when importing or inserting a (source) file that contains speaker and/or scene information into the current file.
-
If the current file already contains any speakers (e.g. from the speaker template) they will remain unchanged
-
Speakers that exist in both files will be merged together. Note that speaker names are not case-sensitive, i.e. .e. "SPEAKER" will be merged with "speaker"
-
After merging, any new speakers will be created in "most common first" order, i.e. the speaker who has the most dialog will be assigned the first empty slot. New speakers will all have a colour of "unassigned"
-
The total number of speakers cannot exceed 30. Any further speakers beyond this will not be added and their corresponding text will be unassigned
-
If the source file contains scene break information then a scene marker will be attached to the first subtitle in each new scene
Display Speaker
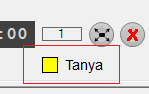
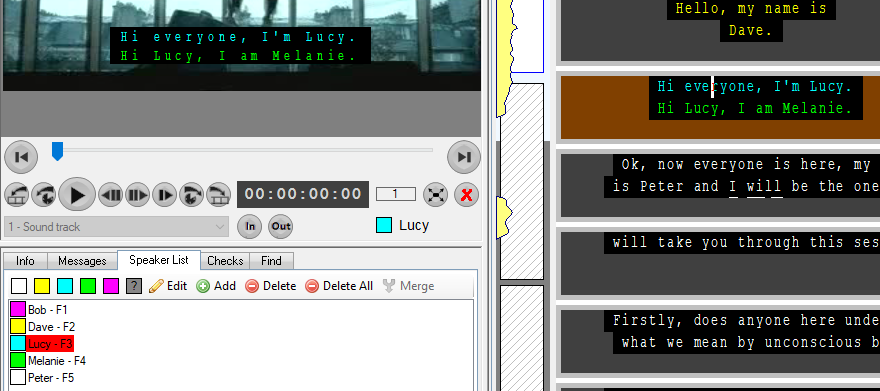
If the w32 file contains speaker information the speaker can be displayed on the Video Window as well as in the Speaker List pane. This is to allow the usage of the Toolbox while working on a w32 file. There is an option in the Toolbox under Configure>User Preferences>General to Show Allocated Speaker. When the option is ticked/enabled, the speaker name will be displayed on the bottom of the Video Window:
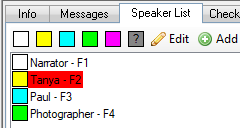
The speaker display will correspond with the information in the Speaker List:
If there are two speakers in the same subtitle, the speaker displayed in the Video Window will be the speaker that the cursor focus is on:
![]() If autocolouring has been used, the speaker colour display will be as per the Speaker List and display with a question mark
If autocolouring has been used, the speaker colour display will be as per the Speaker List and display with a question mark 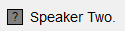
Scene markers can be used to split the subtitle file into scenes of related dialogue. This allows the autocolouring function to intelligently assign colours to speakers so that adjacent speakers use a different colour, whilst keeping the main colour for each main speaker as constant as possible. Scene markers may also be imported or inserted automatically if the source file contains them.
Scene markers are attached to subtitles. If a subtitle has a scene marker then it is considered to be the first subtitle in a new scene. If a subtitle has a scene marker then it will appear as shown below in the subtitle view:
You can toggle the scene marker on/off for the current subtitle in any of the following ways:
-
Click the scene marker button on the timing toolbar.
-
Press the Ctrl K key